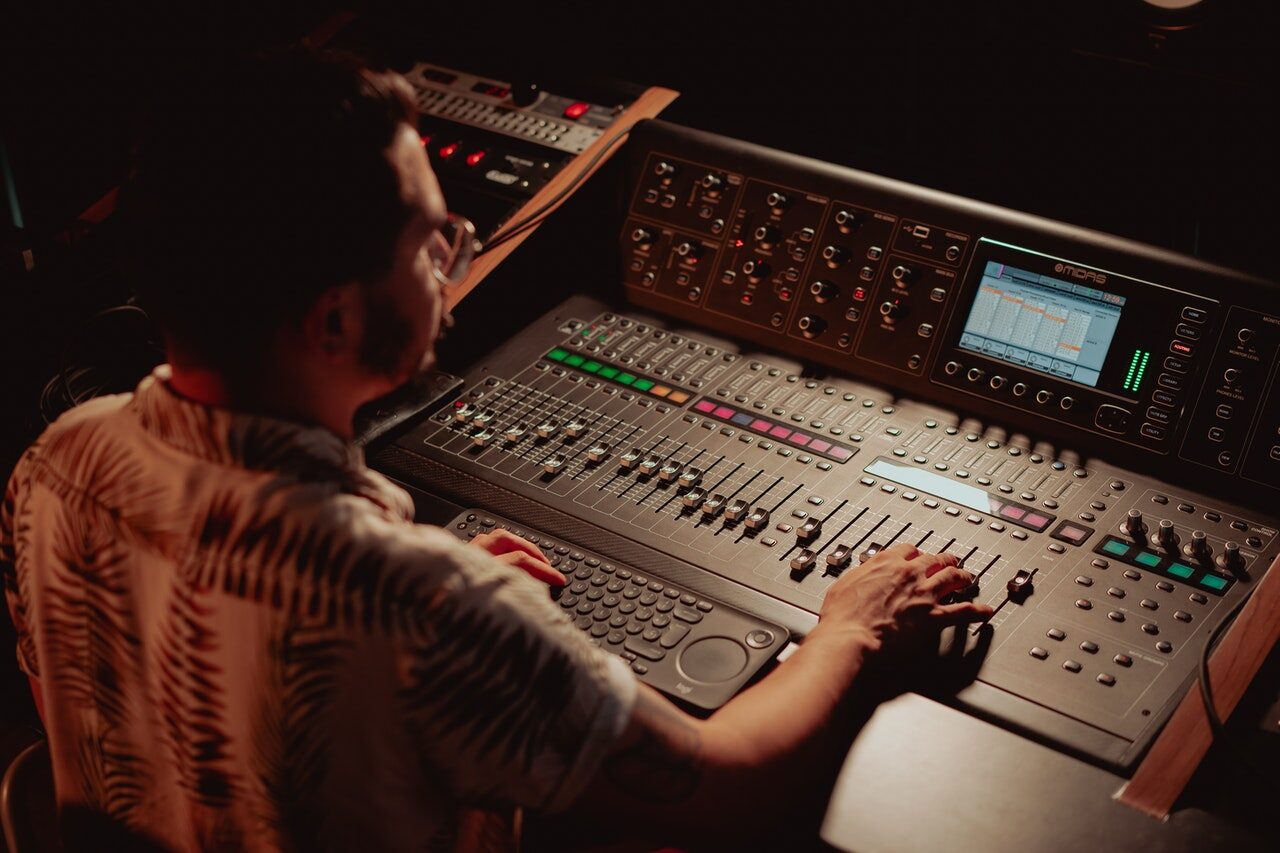
Haven’t set up a sound system yourself before? Don’t worry, you aren’t the only one. Here we provide a step-by-step guide on how to create a great sound all on your own. All you need is your rental gear and two functioning ears (and maybe a little bit of patience).
Main Monitors
- In a typical stage setup, you should place the monitors at the far left and far right sides of the stage, in front of your inputs. Placing your main monitors in front of your input (ex. lead vocalist) will help reduce feedback.
- Try to place both monitors on the same electrical circuit (if you’re not sure what that means, just try to plug them into the same power outlet).
- Grab some microphone XLR cables and plug the female ends into the MAIN L/R outputs on the back of the mixer.
- Take note of which cable is plugged into which output. We recommend labeling with tape or a label maker.
- Plug the cable labeled “L” into THE AUDIENCES left side monitor input. Do the same with the cable labeled “R”.
Inputs
You can set up your band or vocals in any way that you would like. We recommend grouping related instruments and vocalists together, with the lead vocalist starting at CH. 1 and backup following. For demonstration purposes, we will describe setting up a microphone and a guitar.
Microphone
- Before plugging a mic in make sure phantom power is turned off if you are using a dynamic microphone. If you are unsure if your mic is a dynamic or condenser, check for a label at the base of the microphone’s grill.
- Take the female end of the mic cable and plug it into the output on the mic. Plug the male end of the cable into the desired input on the mixer or stage box. Instructions on how to set up gain are under the “Gain Structure” section
Guitar
- Take a ¼” cable and plug an end into your guitar
- Take the other end and plug it into the desired input on the mixer or stage box
- Some mixers have hybrid XLR / 1/4” inputs. If you are using a mixer with one of these, the input will look like a normal XLR input, but with a larger hole in the middle. Plug the ¼” cable into the middle hole.
Gain Structure
Now it is time to turn your mixer on. Make sure it is plugged into the same electrical circuit as your main monitors (or same power outlet). The power button is frequently found on the back side of the mixer, on the right-hand side as if you were sitting behind the desk. Turn your main monitors on AFTER turning the mixer on.
- Make sure your MAIN L/R fader is pushed up to zero, or unity.
- Go to your first input. Make sure the GAIN knob is turned all the way to -∞. Push the fader up to unity.
- While saying “Check, one, two” (say only those three words – they have the most problematic consonants and will help you identify feedback), turn the gain knob until the microphone is at a sensitivity that is to your satisfaction.
- If you are hearing distortion or lots of background noise, you have gone too far.
Now that you have set the gain levels for your inputs, adjust the channel faders to get the mix that you want (note: vocalists should be heard above instrumnets).
DISCLAIMER — THIS WEBSITE IS FOR EDUCATIONAL PURPOSES ONLY AND IS NOT A REAL COMPANY.
